Pages

Tampilkan postingan dengan label c. Tampilkan semua postingan

Sabtu, 25 Juni 2016

C is for Candy Button Zipper Pouches

diy candy button zipper pouches
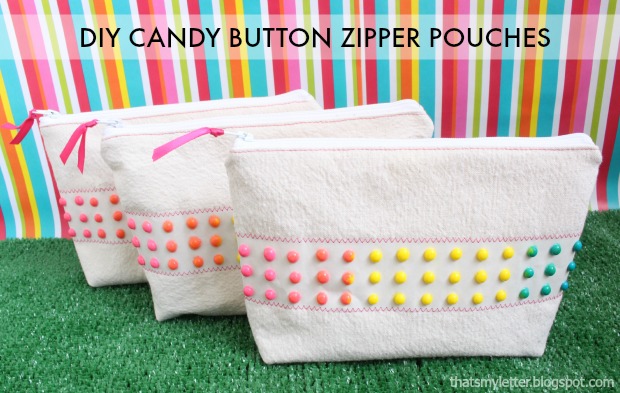
diy candy button zipper pouches

This just might be the most outrageous diy project I have conjured up in my lifetime but when my daughter decided she wanted a Willy Wonka birthday party all things normal went out the window.  So today I am sharing how to make candy button zipper pouches using real candy buttons which will be the favors at her birthday party.
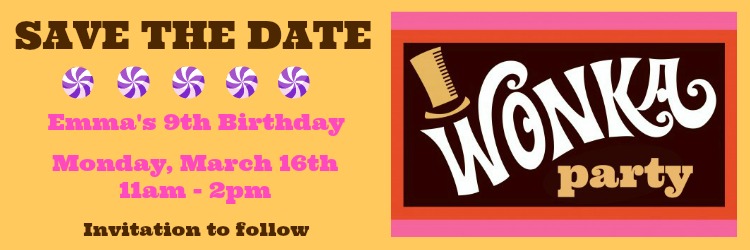
diy save the date willy wonka party

It's official since I already sent out this cute little save the date graphic I made up.
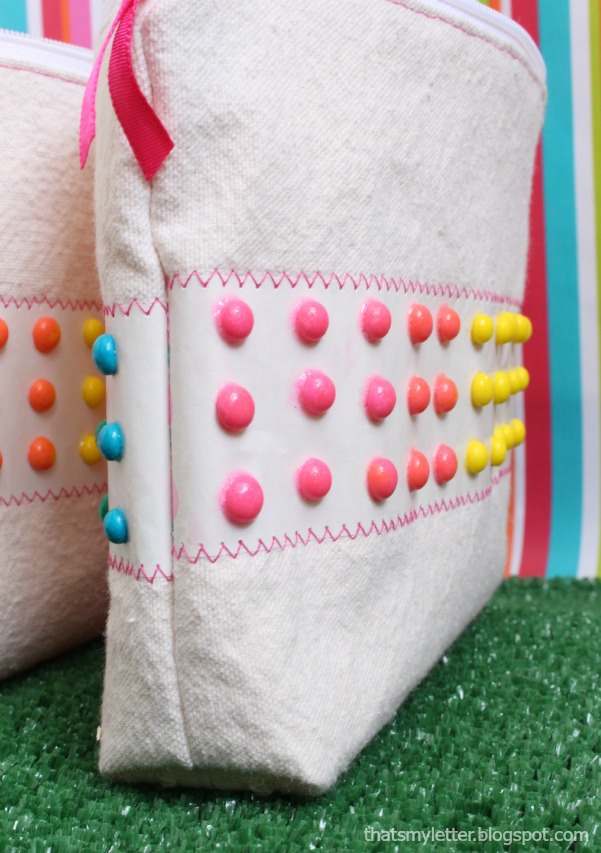
diy candy button zipper pouches

The candy buttons ARE NOT EDIBLE anymore because they have been sealed with clear gloss polyurethane which is the only way I could figure out how to keep the buttons adhered to the paper and protect the sugar and paper from moisture (humidity, moist fingers, liquids in general). 

Click here to continue reading »
Read More..

Kamis, 23 Juni 2016

H is for Hose Hiding Planter


Ready to get building for outdoors this summer?  Together with Kreg Tool a group of us buildy bloggers have come up with some awesome outdoor diy build projects.  Today we are all sharing different projects with details on how to build your own!


This is my hot mess of a hose area.  Granted we are only entering our third summer at this home so tackling this eyesore was pretty far down on the to-do list.

The hose spigot is actually behind the fence (in the front yard) but we need the hose accessible to the backyard so it used to rest in a pile amidst hosta and ferns.


Until I decided to clean up the area and create not only a pretty spot for flowers but a place to hide the hose when not in use.  I'm sharing the plans on how to build your own planter down below.

Click here to continue reading »
Read More..

Sabtu, 04 Juni 2016

C is for Cupcake Tray Carrier


Im over at Pretty Handy Girl today sharing this fun cupcake tray carrier.  All the plans and step by step instructions are over at Brittanys place here.

Happy Friday friends!
Read More..

Rabu, 01 Juni 2016

C is for Cupcake Box 4 pack


Maybe it's the cuteness factor or the fact that I have a bazillion wood scraps lying around but I think everyone needs a cupcake box.  I'm sharing how to make your own diy cupcake box with no fancy tools (and by fancy I mean a router or table saw).
Click here to continue reading »
Read More..

Jumat, 27 Mei 2016

J is for Jewelry Stand Plans

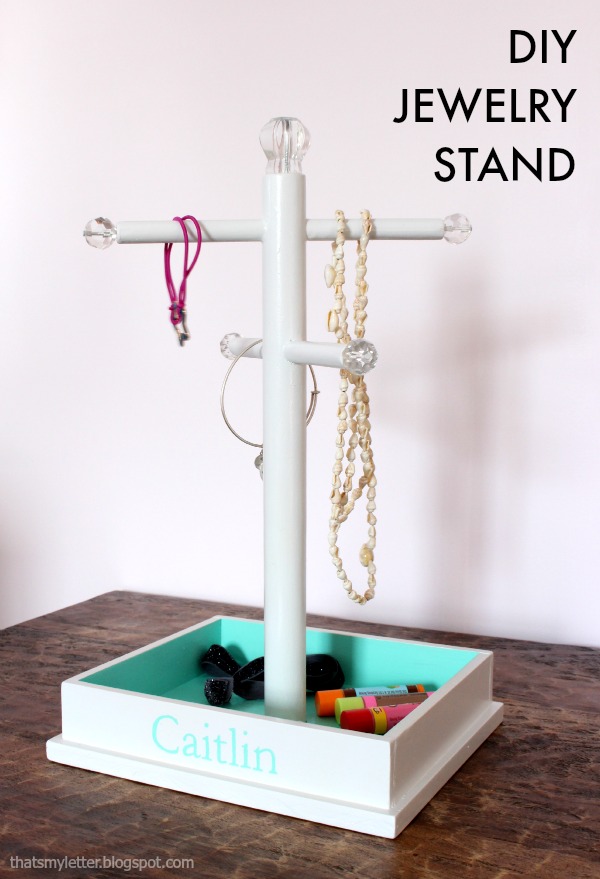
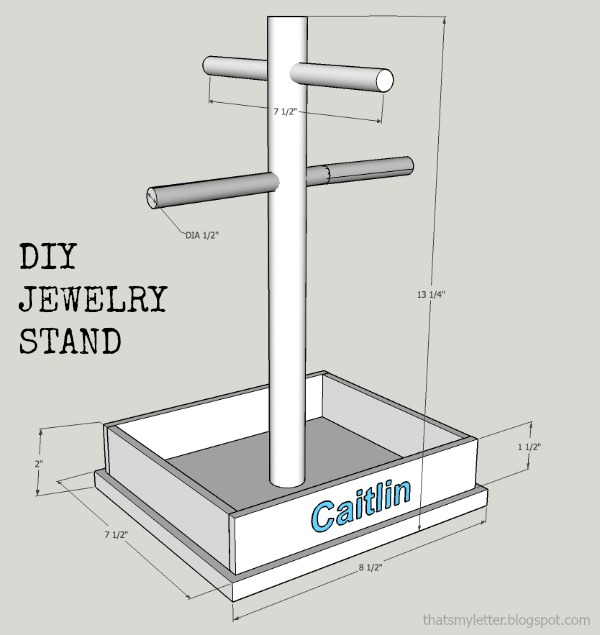
diy jewelry stand with free plans

Make your own jewelry stand using my plans below.

diy jewelry stand free plans
Click here to continue reading »
Read More..

Jumat, 13 Mei 2016

P is for Pipe Projects Round Up

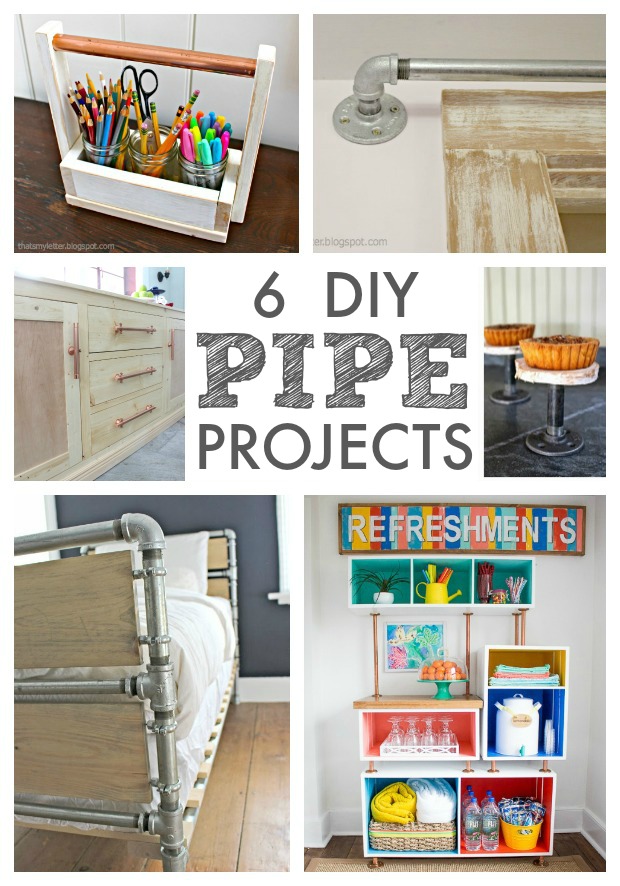
6 diy pipe projects

diy pipe projects

The pipe trend seems to be hanging around for awhile now.  I've done a few projects with pipe so I thought I'd share them all here in one round up style post for those looking for some pipe inspiration.

diy mason jar carrier with pipe handle

Mason jars, copper pipe and wood all in one project - how can you resist?  This is a fairly simple build using scrap wood and makes a great gift too.  See the details here.

Click here to continue reading »
Read More..

Minggu, 08 Mei 2016

Locker Cubbies Giveaway


Who's thinking about back to school?  Yes please I can't wait!  As much fun as summer is don't get me wrong I secretly long for those structured school days.

The folks at Crates and Pallet challenged a few bloggers to come up with a back to school themed organization project using the large and small crates.  Today I'm sharing my locker cubbies made from 6 large crates and 6 small crates.  Together they make a super functional and organized spot for school supplies and homework essentials.

And the nice people at Crates and Pallet have offered to giveaway 2 large and 2 small crates plus a $50 gift card for The Home Depot to one lucky reader!


A great way to get started on your own back to school organizational area.  The giveaway entry and link are down below but first all the details on my locker cubbies:
Click here to continue reading »
Read More..

Sabtu, 07 Mei 2016

O is for Outdoor Build Projects

diy outdoor projects to build
As we are on the verge of Spring and thinking about all things outdoors I rounded up a few outdoor build projects from last summer.

diy outdoor trestle dining table free plans

Get some good use out of your outdoor patio and build this giant trestle style dining table that comfortably seats 10.  Free plans here.
Click here to continue reading »
Read More..

Kamis, 05 Mei 2016

C is for Cupcake Carrier large


Last week I shared the 4 pack cupcake carrier but today it's the real deal because in all honesty you're definitely more likely to need 18 cupcakes than 4!


A simple wood box with inserts means you can deliver these cupcakes in style!

For this little creation I was inspired by Anthropologie's Wooden Cake Box Carrier:


Their version is $75 plus shipping and sold out until 6/22.  Guess that means you'll want to DIY this project!
Click here to continue reading »
Read More..

Senin, 02 Mei 2016

D is for Drawstring Backpack


Who's ready for summer and camp season?  I'm sharing a fairly simple sewing project today: drawstring backpacks.  I made these for my girls to take to camp this summer (I have blocked out the camp name for safety reasons) just so they have something to tote around small necessities when going down to the lake, taking a day trip, etc.


There are lots of drawstring backpack tutorials out there so this is nothing new but I thought I'd share how I made this version along with the personalization tutorial.  (I followed the Purl Bee tutorial here as a starting point.)

Also I used drop cloth canvas on the exterior and cotton gingham for the lining.  The pink drawstring poly rope can be found at Home Depot.


The finish size you see my girls (ages 9 and 10) wearing above is:

11 1/2"w x 13 1/2"h

This is the medium size from the Purl Bee tutorial.
If I were to make these again in the future I would definitely make them bigger.

Below are the materials and step by step instructions:
Click here to continue reading »
Read More..

Senin, 25 April 2016

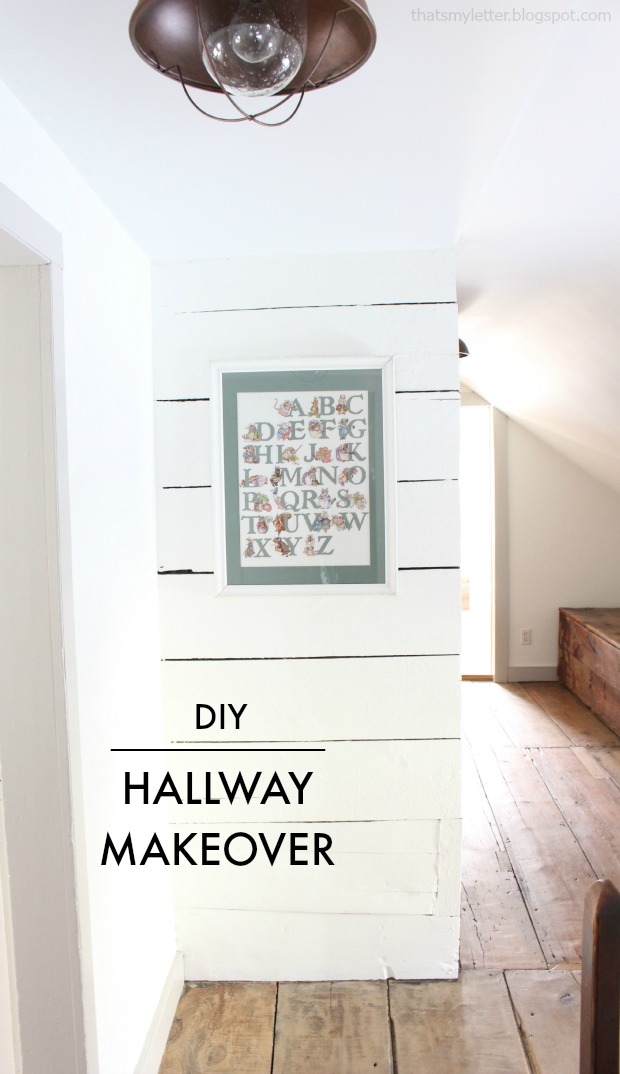
U is for Upstairs Hallway Makeover

diy hallway makeover planked walls

Today I'm sharing the upstairs hallway and backstairs makeover.  I've been slowly making my way through our home room by room and after living here for 1 1/2 years I'm finally giving some attention to some of those in-between spaces.

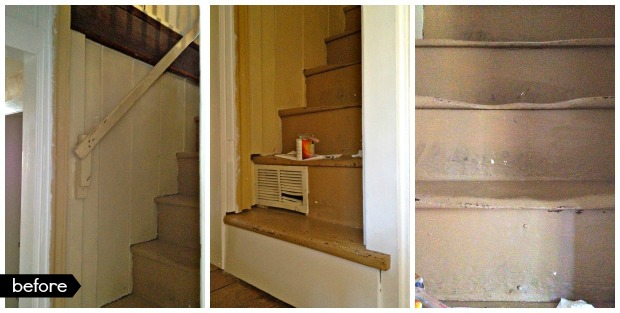
steep staircase before makeover

Most recently I tackled the back stairs leading to the upstairs hallway because, as you can tell from the before pictures above, they needed a little love.  Worn, grungy and dark, these stairs are the preferred route up to the kids bedrooms and weren't very enticing (we have a front stairs too but it's out of the way).

steep staircase makeover antique home

Some fresh paint, some stripped paint and a new railing and it's magical once again.  (Funny what a $5 new return vent cover can do for appearances.)

Click here to continue reading »
Read More..

Kamis, 21 April 2016

L is for Loft Bed with Lego Storage Work Space

diy loft bed with lego storage and work space


A giant build to share with you today thank you to my fellow buildy blogger Jen at House of Wood, she put together the plans for this awesome loft bed with lego storage and work space!


My son was begging for a loft bed and I wanted to make the most use of the space below by designing the bed to fit 2 Ikea Trofast storage towers underneath for legos.  Plus a lego workspace where he can leave out his incomplete projects without cluttering up our Family Room.


The work space is very generous (the table here measures 32"w x 48"l),  Jen's plans make use of the whole width under the bed.  Our table is slightly narrower because I used a scrap piece of plywood and also it does leave a bit of space on the ladder side for feet to poke through.

I put felt on the bottom of the table legs so it easily slides out into the room for more maneuverability.

Click here to continue reading »
Read More..

Selasa, 19 April 2016

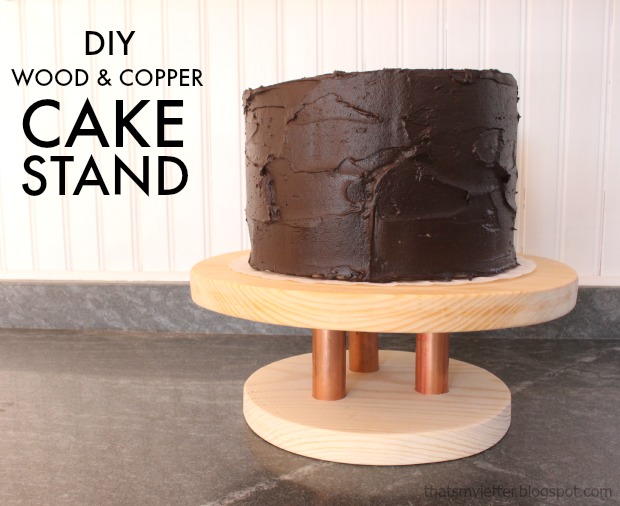
C is for Copper Cake Stand

diy wood and copper cake stand

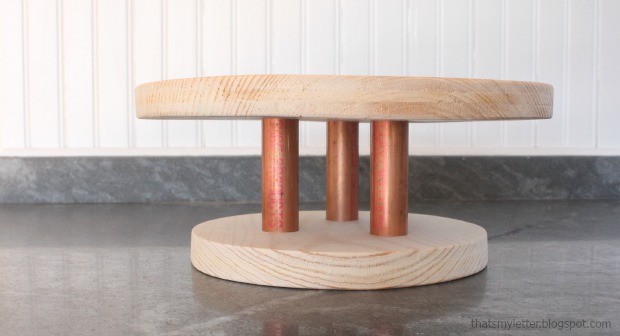
diy wood cake stand

Hello diy friends.  Today Im over at Pretty Handy Girl with Brittany sharing how to make this wood and copper cake stand.

diy wood and copper pipe cake stand

What cake doesnt need a snazzy pipe cake stand?  Click here for all the details.

And if youre looking for more pipe project inspiration see my round up here:
 6 diy pipe projects
Im linking up to:

Sand and Sisal
The 36th Avenue
Creative Collection @ Lolly Jane

Nifty Thrity Sunday @ Nifty Thrifty Things
Inspiration Exchange @ City Farmhouse
SAS @ Funky Junk
That DIY Party @ The DIY Showoff
Tutorials & Tips Tuesday @ Home Stories A to Z
Share Awesomeness Thur @ The 36th Avenue
Pretty Things Thursday @ Scissors & Spatulas
Flaunt it Friday @ Chic on a Shoestring
Frugal Friday @ The Shabby Nest
Furniture Feature Friday @ Miss Mustard Seed
SAS @ Just a Girl
Remodelaholics Anonymous @ Remodelaholic
inspiration board @ Carolyns Homework
Sunday Showcase Party @ Under the Table & Dreaming
Read More..

Senin, 18 April 2016

C is for Chore Chart

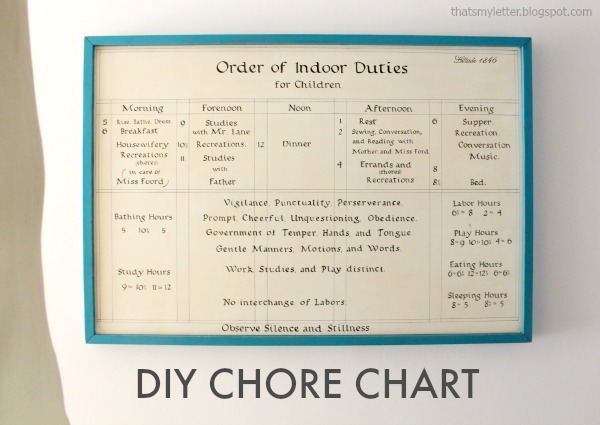
diy chore chart

diy chore chart replica

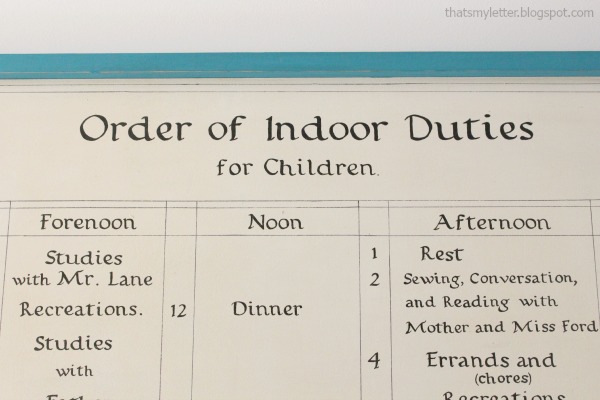
Also known as the Order of Indoor Duties for Children.  Isn't it great!?  I made this wall art for the upstairs hallway where all the kids bedrooms are located.

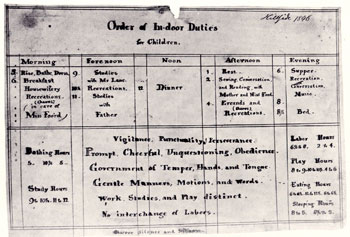
Orchard House order of indoor duties
image source

My wall art is a replica of the historical document above written in 1846 which lists the rules for daily life and the schedule which was followed by the homeschooled Alcott girls.  The document is hung on display in the parents bedroom at Orchard House in Concord, MA and you can purchase a print in the gift shop.  If you're a Little Women fan and in the area you should definitely stop by!  

handpainted sign replica
Click here to continue reading »
Read More..

Rabu, 13 April 2016

K is for Kids Cubby Organizer One Board Project


We have seven birthday parties next week during the last week of school.  Yes seven.  Instead of running to the store to buy more plastic toys wrapped in plastic I pillaged my scrap wood pile and built a kids cubby organizer.

This is a one board project meaning you could build this organizer from one (1x4) eight foot board which costs about $5.  Or you could use scrap wood and then it's a free project.


Two down, five to go!

I'm sharing the free plans down below including materials, cut list and step by step instructions.

Click here to continue reading »
Read More..

Sabtu, 09 April 2016

T is for Turf Projects

diy turf projects

Since a majority of us still have snow on the ground and it doesn't look like Spring will be here anytime soon I thought it would be a good time to share some diy turf projects.  If we can't even see the real grass then we might as well bring out the fake stuff!  Follow are 4 fun projects using astroturf.

Astroturf is relatively inexpensive - one large 6' x 8' piece is under $20 and you can get a lot of projects from that one piece.  I've also seen smaller 3' x 5' rug sizes and even the little 4" square samples could be used to make coasters.
Click here to continue reading »
Read More..

Jumat, 08 April 2016

C is for Cut Out Tray


Im over at Brittanys blog, Pretty Handy Girl, sharing how to make this cut out tray.  All you jig saw lovers will enjoy this project and for those who have yet to try the jig saw this is a simple starting point.

You can use any font or shape you choose because the tray surface is covered with plexiglass.


Check out the full tutorial here.

Im linking up to:

Remodelaholics Anonymous @ Remodelaholic
Read More..

Minggu, 03 April 2016

C is for Caddy Gift

diy wood gift caddy

Make this easy caddy from scrap wood and you have a perfect last minute birthday gift!  And I have the free plans for you down below too.

diy wood caddy kids art supplies

It's so versatile.
I loaded this caddy with art supplies but wouldn't it be great for hair supplies or make up for the older girls?

wood caddy with compartments

diy personalized wood caddy

Click here to continue reading »
Read More..

Sabtu, 26 Maret 2016

G is for Gumball Machine

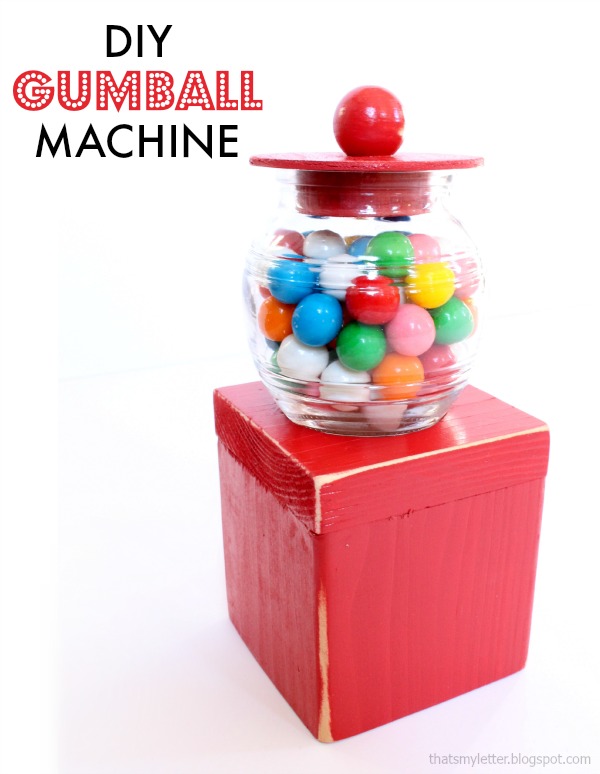
diy gumball machine kids craft

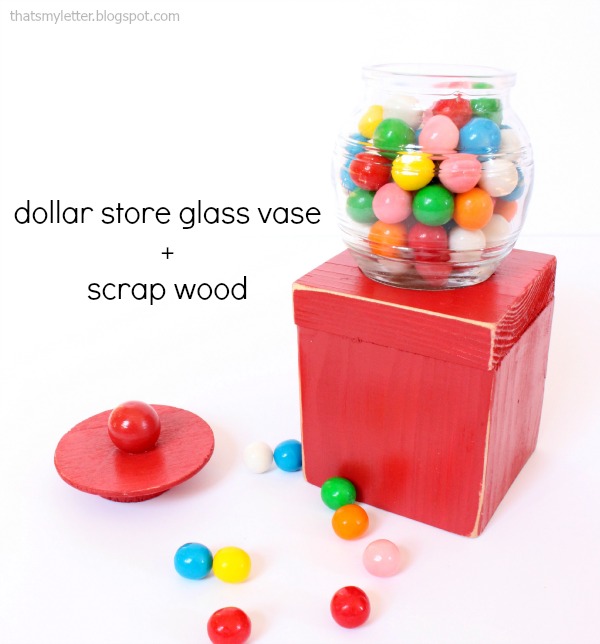
Time to raid the scrap wood pile again to make this simple gumball machine.  Now technically it's not a machine but more of a candy jar however it does make an easy craft for a kids birthday party and that is my goal here.
dollar store glass vase gumball machine
Click here to continue reading »
Read More..

Kamis, 24 Maret 2016

DIY Star Napkins


Who's ready for a little holiday?  July 4th is days away and I have a fairly simple table decor project: diy star napkins.

Use premade white cotton napkins or hem up cotton fabric then paint a simple red star at the center.  I'll show you how down below.
Click here to continue reading »
Read More..