Pages

Tampilkan postingan dengan label h. Tampilkan semua postingan

Sabtu, 25 Juni 2016

C is for Candy Button Zipper Pouches

diy candy button zipper pouches
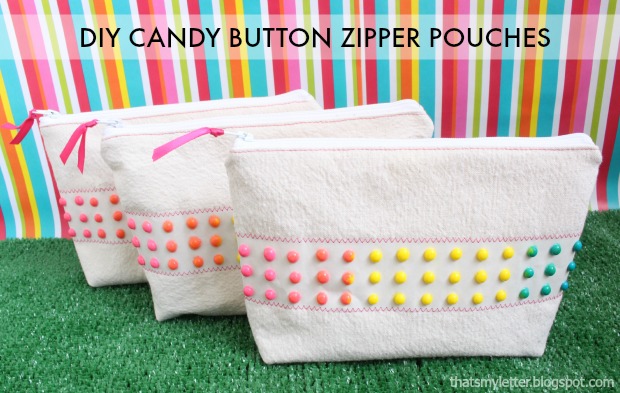
diy candy button zipper pouches

This just might be the most outrageous diy project I have conjured up in my lifetime but when my daughter decided she wanted a Willy Wonka birthday party all things normal went out the window.  So today I am sharing how to make candy button zipper pouches using real candy buttons which will be the favors at her birthday party.

diy save the date willy wonka party

It's official since I already sent out this cute little save the date graphic I made up.
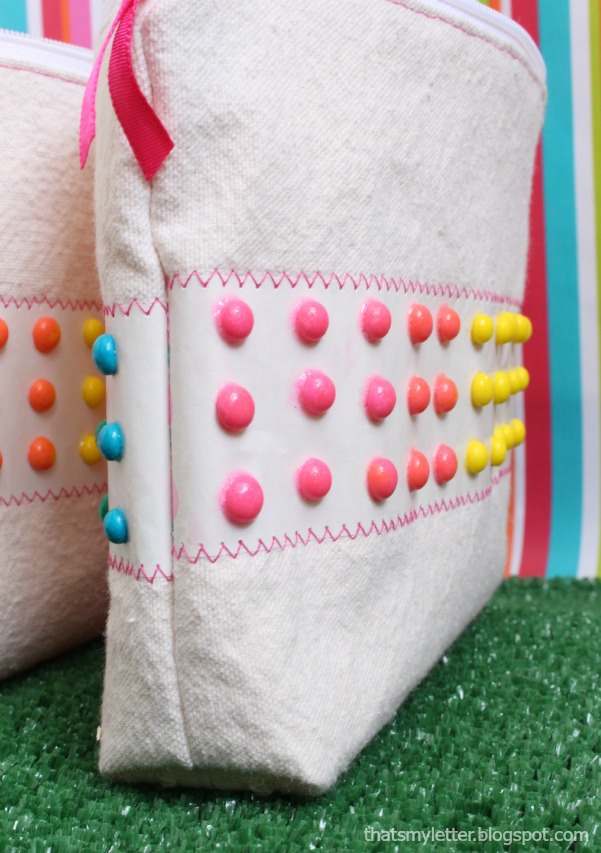
diy candy button zipper pouches

The candy buttons ARE NOT EDIBLE anymore because they have been sealed with clear gloss polyurethane which is the only way I could figure out how to keep the buttons adhered to the paper and protect the sugar and paper from moisture (humidity, moist fingers, liquids in general). 

Click here to continue reading »
Read More..

Kamis, 23 Juni 2016

H is for Hose Hiding Planter


Ready to get building for outdoors this summer?  Together with Kreg Tool a group of us buildy bloggers have come up with some awesome outdoor diy build projects.  Today we are all sharing different projects with details on how to build your own!


This is my hot mess of a hose area.  Granted we are only entering our third summer at this home so tackling this eyesore was pretty far down on the to-do list.

The hose spigot is actually behind the fence (in the front yard) but we need the hose accessible to the backyard so it used to rest in a pile amidst hosta and ferns.


Until I decided to clean up the area and create not only a pretty spot for flowers but a place to hide the hose when not in use.  I'm sharing the plans on how to build your own planter down below.

Click here to continue reading »
Read More..

Senin, 30 Mei 2016

G is for Grill Cart Bar Cart


Today it's a grill cart / bar cart just in time for summer!  I built my own version of the grill cart that is part of The Home Depot DIY Workshop coming up this Saturday, June 20th at 10am:


I can't wait to show you all how to build the grill cart Ben Uyeda of HomeMade Modern designed for the workshop!

This Saturday, June 20th, I'll be at the Buffalo store #1286:

The Home Depot #1286
4405 Milestrip Rd
Buffalo, NY  14219

Click here to sign up!

Below you'll find all the details on my version of the grill cart.  I actually made the grill cart into a bar cart for our purposes.
Click here to continue reading »
Read More..

Jumat, 22 April 2016

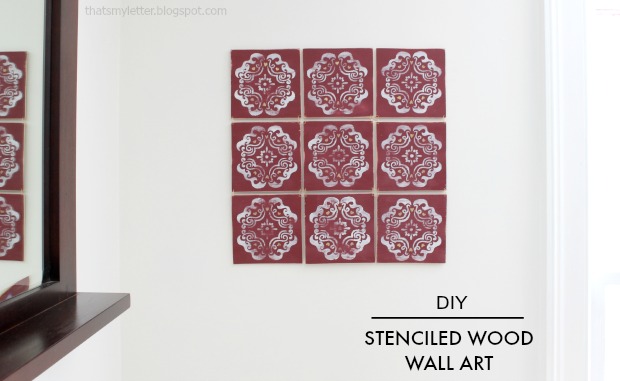
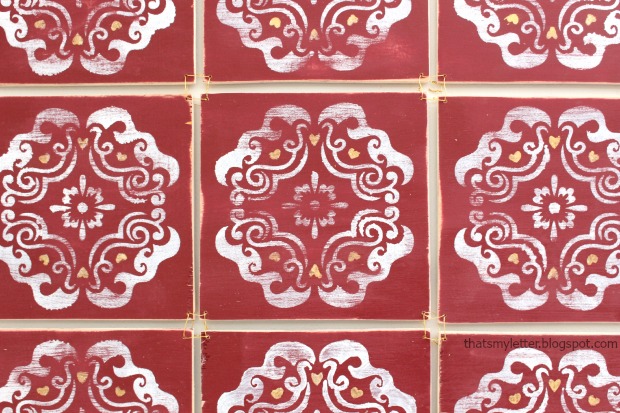
S is for Stenciled Wood Wall Art

diy stenciled wood wall art

diy stenciled wood wall art

I'm participating in the 10 Days of Valentines challenge with Porch and Valspar paint whereby I was to create a diy project using marsala paint and a mystery item from Porch.  

As you can see the mystery item was a stencil and this diy gal never uses stencils but I was up for the challenge.

diy stenciled wood wall art

I used the stencil in a tile like fashion to make this wood wall art which resembles a quilt.  I love the intricate detail of the stencil and the delicate nature of the shapes.

Click here to continue reading »
Read More..

Selasa, 12 April 2016

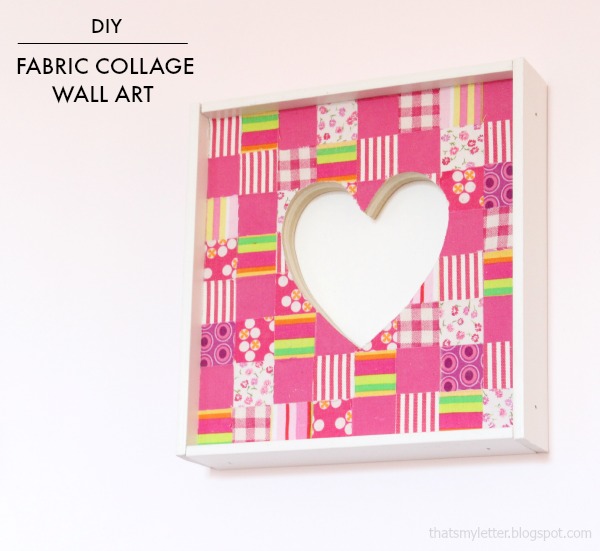
H is for Heart Wall Art

diy fabric collage heart wall art

diy fabric collage heart wall art

Another Valentine's Day themed project today and one that's easy for kids to do too!

diy fabric collage heart wall art

I cut out a heart shape from 3/4" plywood but you could easily purchase one of those heart shaped frames that are precut at Michaels (and I think only $1) and do this same project.

diy fabric collage wall art

Cut plywood edges are my favorite because it shows the layers of the pressed wood sandwich.  And use all your cute fabric scraps for this one, my squares are 1" but any size will work.
Click here to continue reading »
Read More..

Senin, 04 April 2016

Field Day Station Signs


While summer is now in full swing and most field day events are long over I still thought I would share how I made the field day station signs for our school and you can pin for later.


These station signs are completely portable, self standing and the game names are interchangeable which makes them reusable from year to year.

To make 8 station signs I used the follow supplies:

8 - 2x3x8 studs
2 - 2x8x12 boards
1 sheet - 1/2" plywood
16 hooks and eyes
2 1/2" & 1 5/8" exterior wood screws
2" finish nails

Follow the step by step instructions below to build your own field day station signs:
Click here to continue reading »
Read More..